192.168.1.250 — Netgear Extender Login: What This IP Is and How to Access It
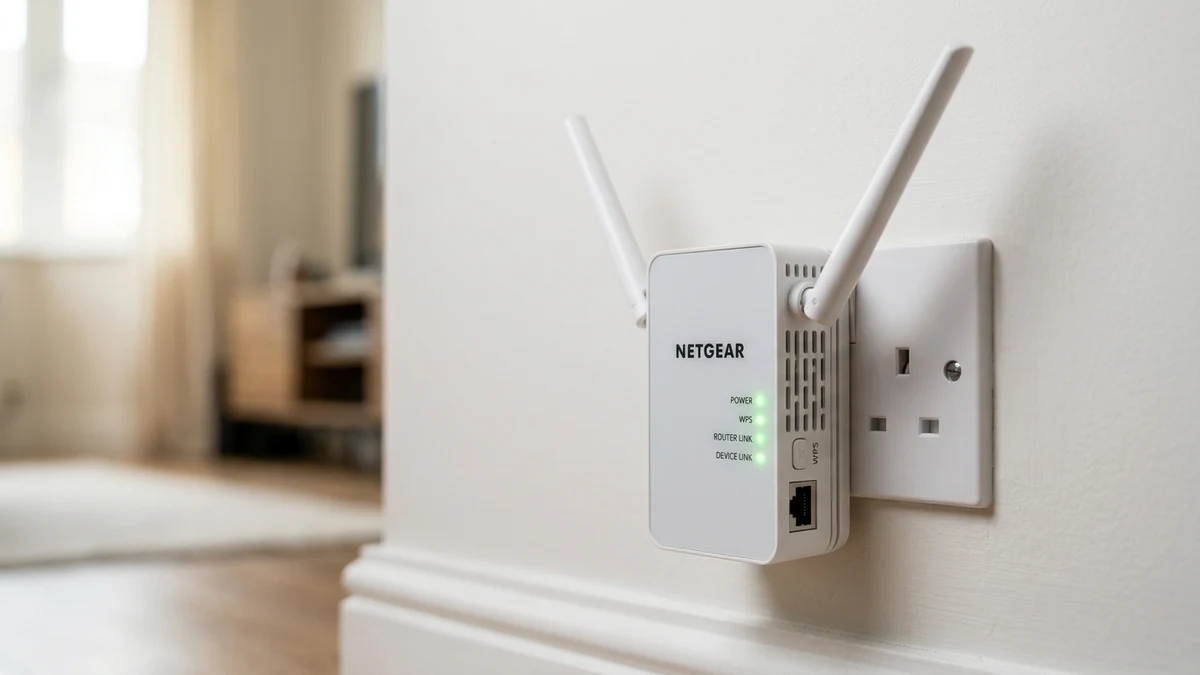
If you searched 192.168.1.250 expecting your main router’s login page, you are trying to reach a NETGEAR Wi-Fi range extender. This address is NETGEAR’s factory-default management fallback IP for its EX, EAX, and EXS extender families—not the usual address for your router or modem. It acts as the direct numerical gateway alternative to the mywifiext.net setup portal.
192.168.1.250 is the default fallback IP address for most NETGEAR Wi-Fi range extenders before they are paired with your home router.
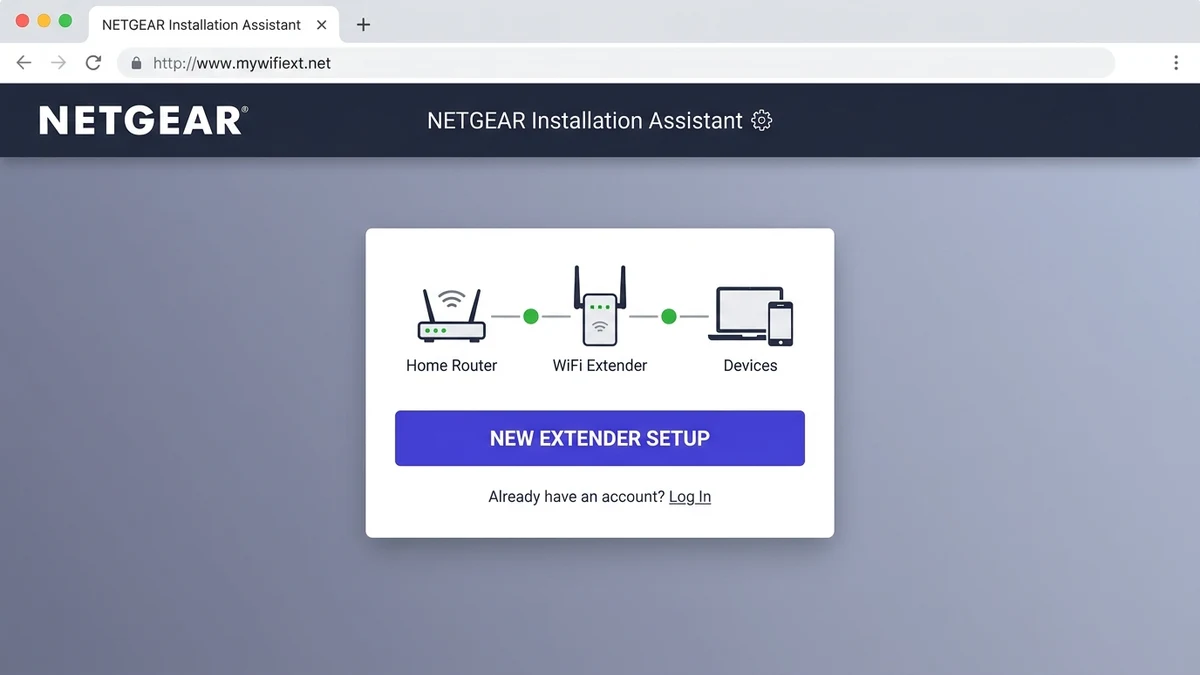
If you want to set up the extender instead, NETGEAR also provides http://www.mywifiext.net for Windows and Android, while macOS and iOS devices can use http://mywifiext.local.
Which NETGEAR Extenders Use 192.168.1.250?
NETGEAR uses 192.168.1.250 across most of its current consumer extender lineup, including Wi-Fi 5, Wi-Fi 6, and Wi-Fi 7 models:
| NETGEAR Extender Family | Example Models | Default IP | Setup URL |
|---|---|---|---|
| Wi-Fi 5 / Essentials EX series | EX2800, EX3110, EX3700, EX3800, EX6100, EX6120, EX6150, EX6200, EX6400, EX7000 | 192.168.1.250 |
http://www.mywifiext.net |
| Wi-Fi 6 / Nighthawk EAX series | EAX12, EAX15, EAX20, EAX80 | 192.168.1.250 |
http://www.mywifiext.net |
| Wi-Fi 7 / EXS series | EXS18, EXS25, EXS27 | 192.168.1.250 |
http://www.mywifiext.net |
Why 192.168.1.250 Stops Working After Setup
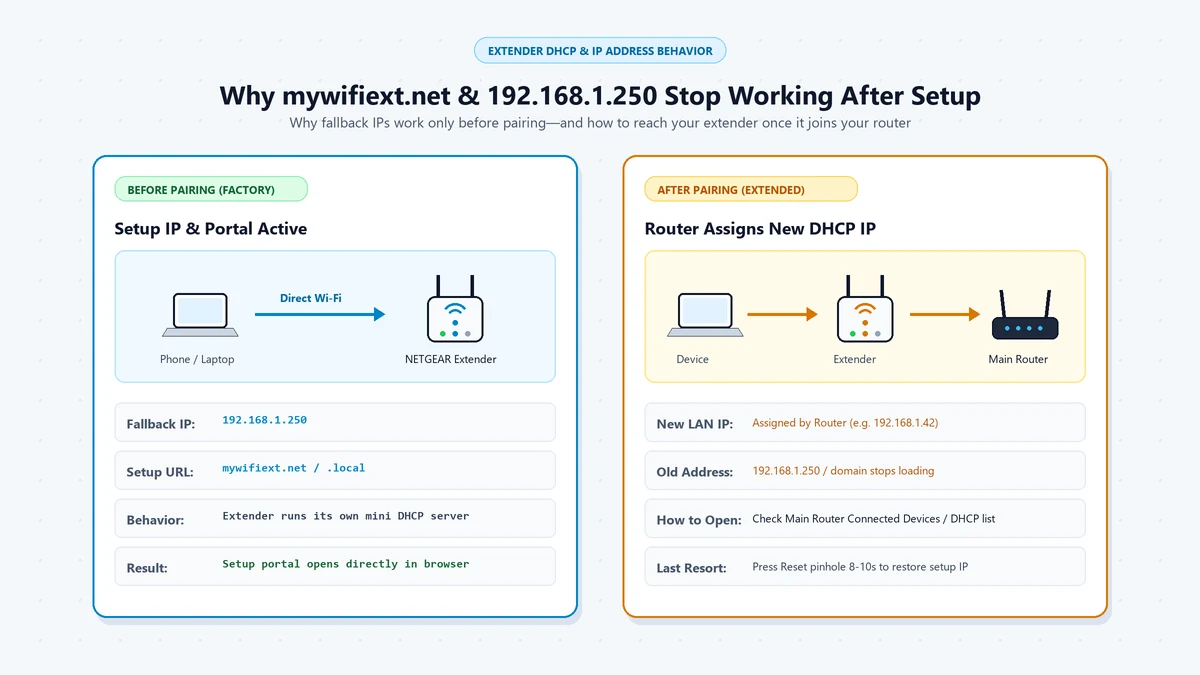
The most common reason 192.168.1.250 stops working is that the extender is no longer using its factory default address. After it joins your router, NETGEAR’s extender receives a new IP address from the router’s DHCP server.
That means the extender may now appear in your router’s client list under a different local IP, such as 192.168.1.x or 192.168.0.x, depending on your router’s subnet. To access it again, log into your main router at 192.168.1.1 and look for the NETGEAR extender in the Attached Devices, Connected Devices, or DHCP Client List section.
Step-by-Step: Log In to a NETGEAR Extender
-
Connect directly to the extender: Connect your computer or phone to the extender’s Wi-Fi network (e.g.
NETGEAR_EXT), or plug an Ethernet cable into the extender’s LAN port. Do not stay connected to cellular data or your main router’s Wi-Fi. -
Open the correct address: Type one of these into the browser address bar over plain HTTP:
http://192.168.1.250http://www.mywifiext.net— see our mywifiext.net setup walkthroughhttp://mywifiext.local— mainly for macOS and iOS
-
Enter the default login: Use these credentials only if you have not previously changed them:
- Username:
admin - Password:
password
- Username:
- Complete setup: From the extender dashboard, select your home Wi-Fi network name, enter the password, and let the extender finish linking. For an interactive visual preview, use our simulator above.
What If You Forgot the Extender’s Admin Password?
If the default credentials do not work and you forgot the custom password:
- Locate the Reset pinhole on the back or side of the extender.
- Use a paperclip to press and hold the button for about 7 to 10 seconds (or until the Power LED blinks amber).
- Release the button and wait for the extender to reboot.
- Once the Power LED turns solid, reconnect to the default Wi-Fi network and start setup again using
192.168.1.250ormywifiext.net.
Common Mistakes and Typos
When trying to reach this IP, avoid these common search mistakes:
Frequently Asked Questions
It is almost always a range extender fallback IP, specifically used by NETGEAR. Most home routers use 192.168.1.1, 192.168.0.1, or 10.0.0.1.
Usually only before the extender is paired with your router, or when your computer is connected directly to the extender’s Wi-Fi network or Ethernet port. Once paired, the extender takes a new IP from your main router.
The default username is admin and the default password is password. On newer models, setup requires you to create a personalized password during first-time configuration.
mywifiext.net is a local redirect address handled by the extender’s internal DNS. If your computer or phone is connected to your main router, cellular data, or a guest network instead of the extender, the request goes to the public internet where the domain cannot reach your local device.
After pairing with your router, the extender disables its fallback DHCP server and obtains a dynamic local IP from your main router. Look up the extender in your router’s Attached Devices list at 192.168.1.1 or 192.168.0.1 to find its new IP.
The Bottom Line: Fastest Extender Setup
To access 192.168.1.250, ensure your phone or laptop is connected directly to the extender’s default Wi-Fi network (NETGEAR_EXT) with mobile cellular data turned off. Alternatively, launch our interactive Netgear extender setup simulator or read the dedicated mywifiext.net setup guide.